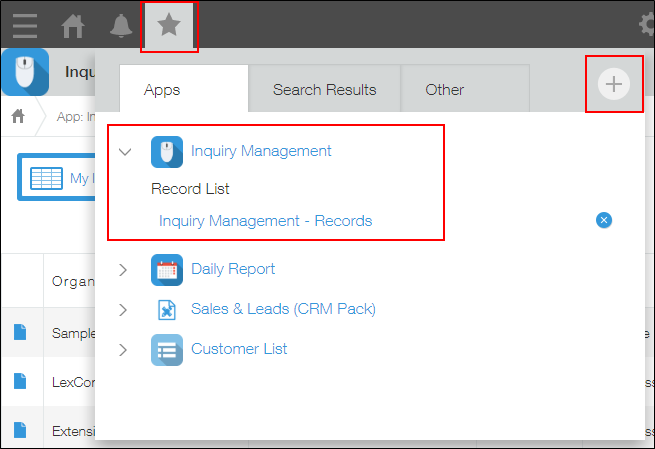
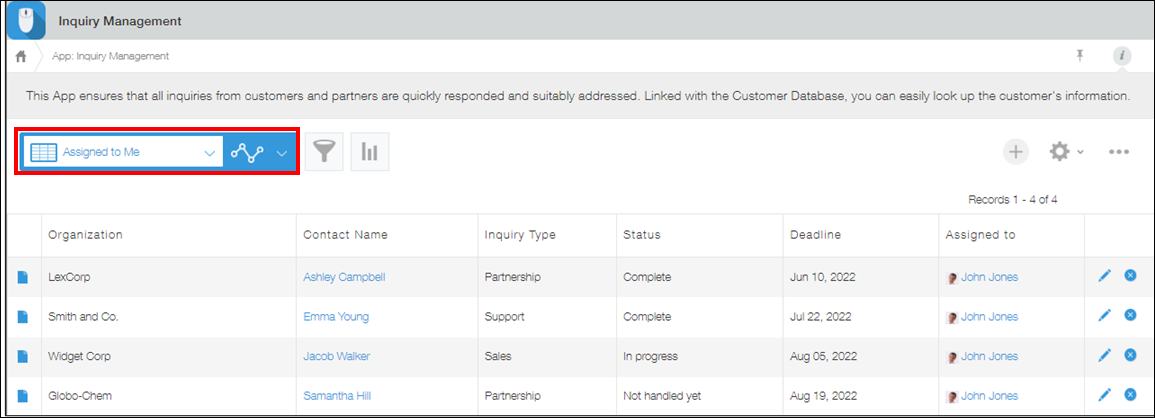
Displaying a list of the records assigned to you
On Kintone apps, you can create a personalized view that displays only the records assigned to you. With this view you can quickly check the records relevant to you, even when you are using the app with other users.
This article provides step-by-step instructions for configuring an app so that it displays a list of the records assigned to whoever is viewing it.
By creating a view with Logged-in user specified as a filter condition, you can avoid the hassle of making a separate view for each member.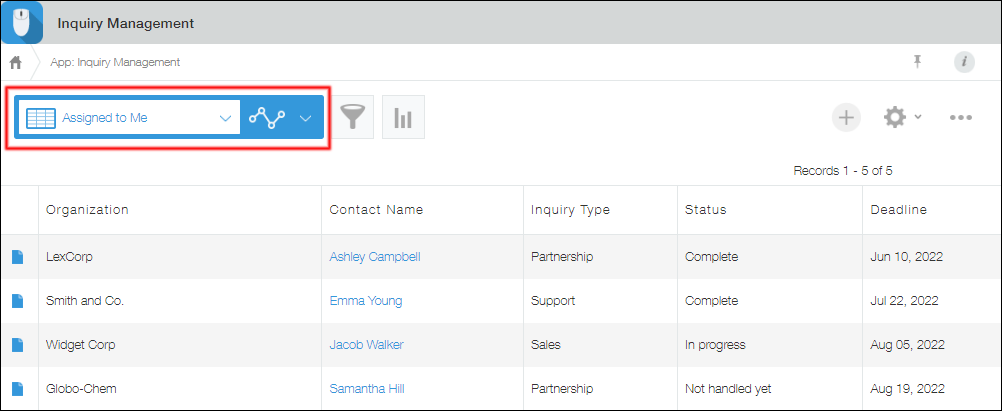
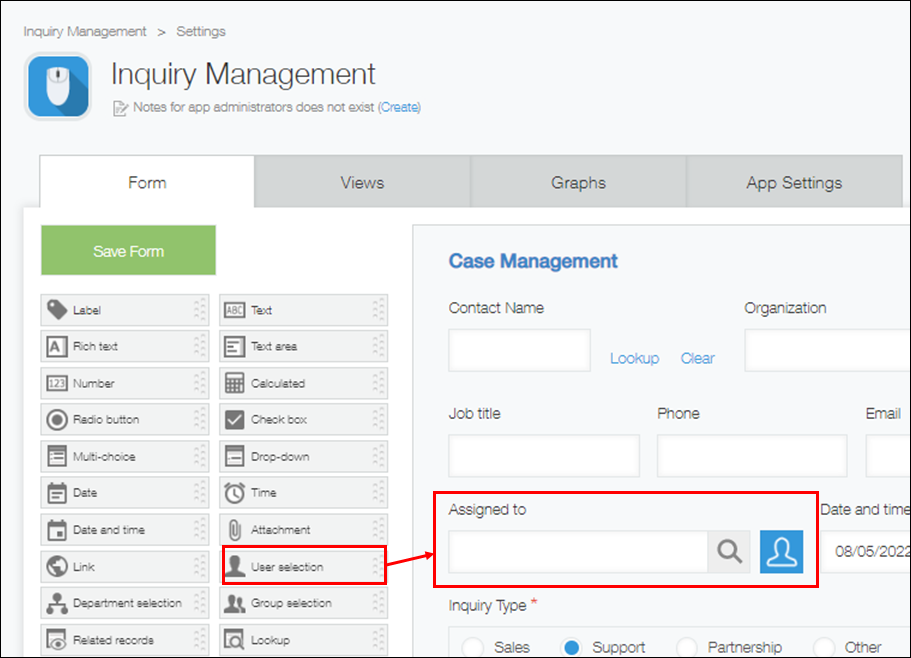
Preparation: Add a field for entering an assigned user
Before you can create a personalized view, you need to place a field for entering an assigned user on the app form.
In this example, a "User selection" field is placed on the app form and named "Assigned to."
Next, use either of the following methods to create a view that displays only the records assigned to the user who is viewing the app.
- Method 1: Create the view from App settings
- Method 2: Create the view from the "View" screen (the top page of the app)
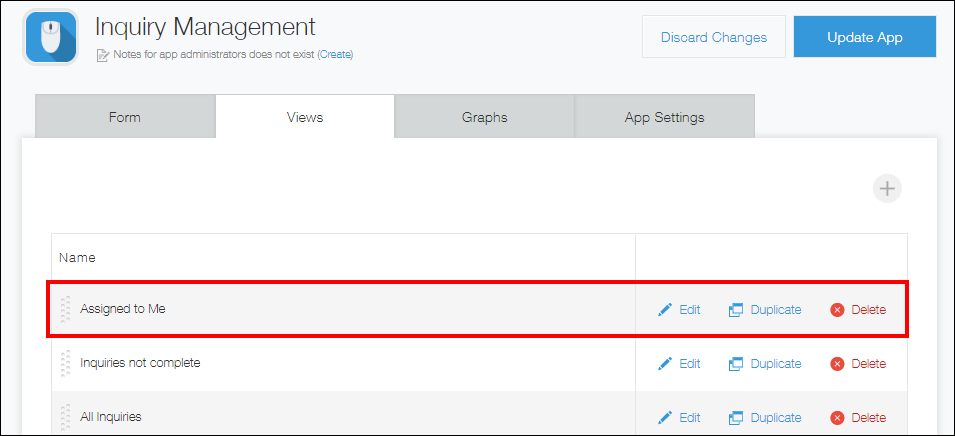
Method 1: Create the view from App settings
To create the view from App settings, follow the steps below.
-
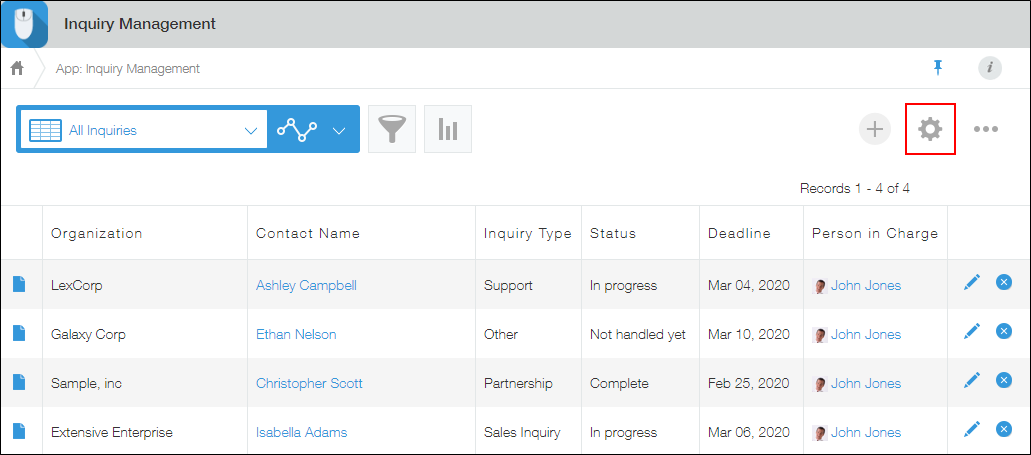
On the View screen (the main page of the app), click the App settings icon (the gear-shaped icon) at the upper right of the screen.
-
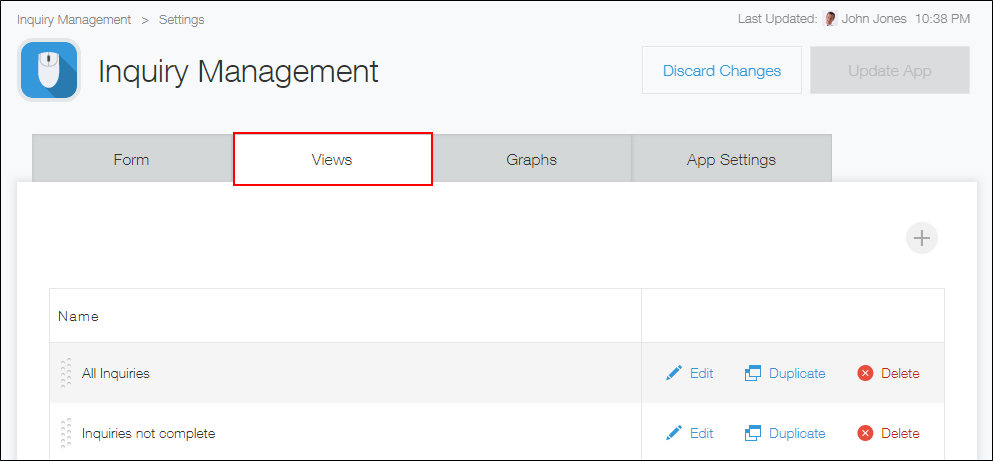
On the App settings screen, click the Views tab.
-
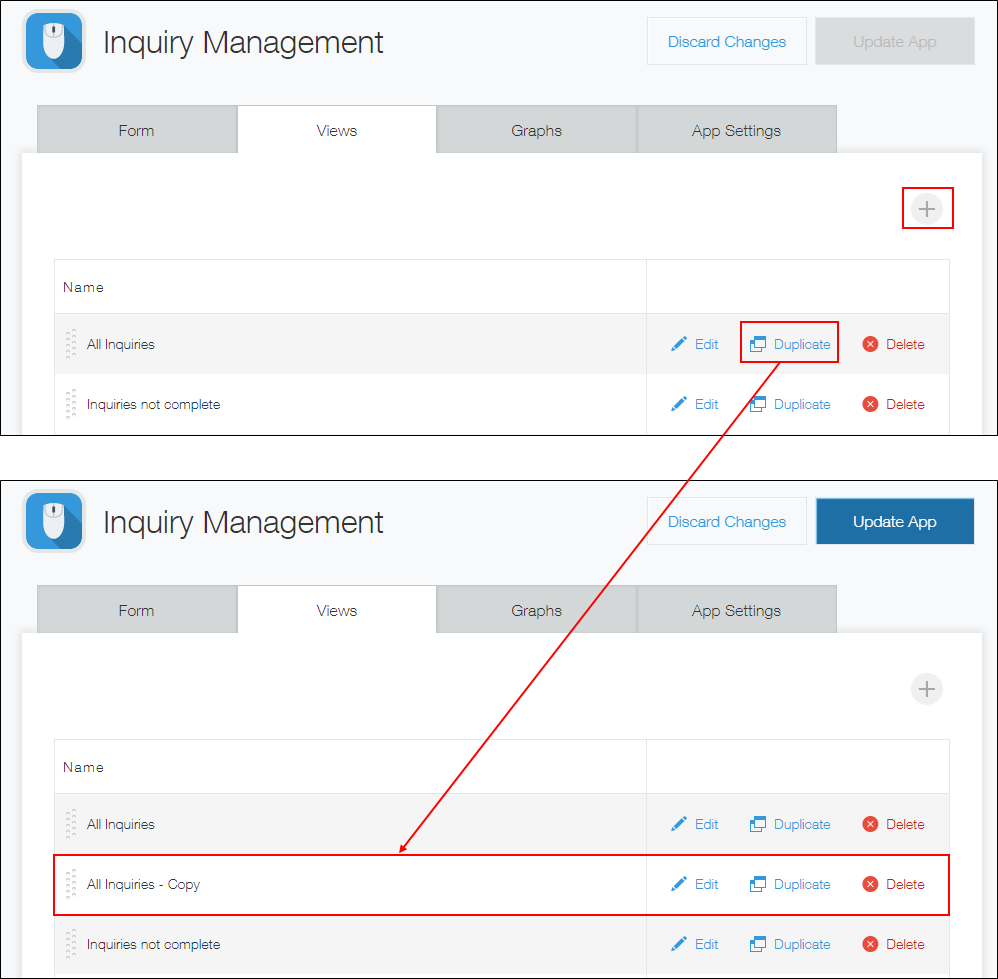
Click the Add new view button to create a new view, or click Duplicate to copy an existing view.
In this example, we will click Duplicate to copy an existing view.
-
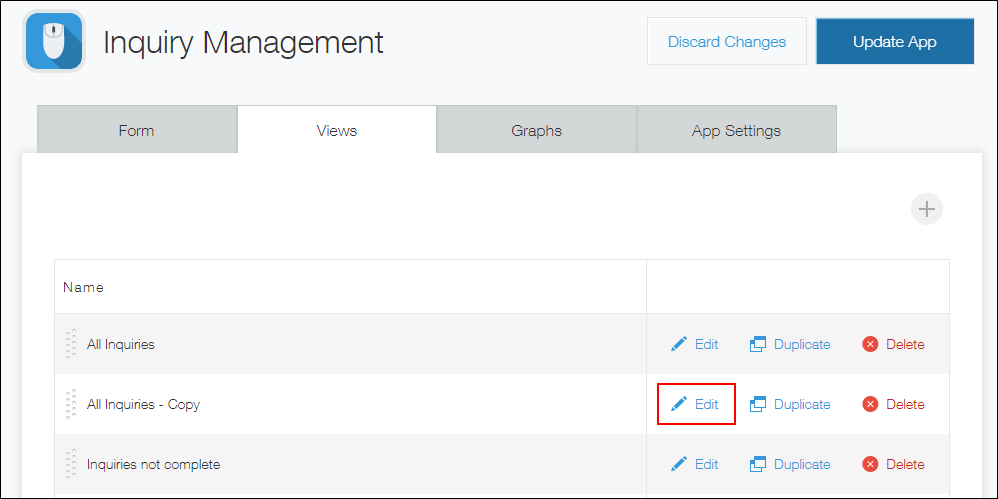
Click Edit for the copied view.
-
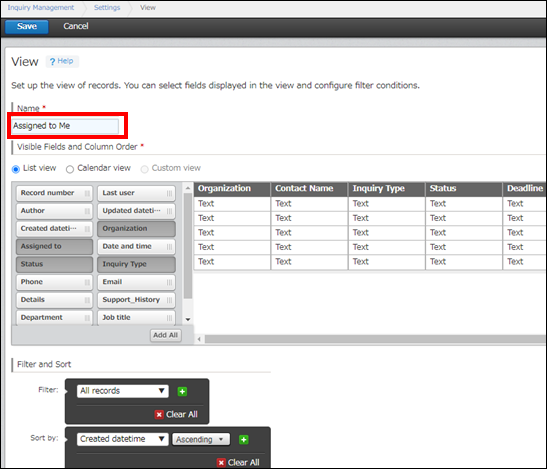
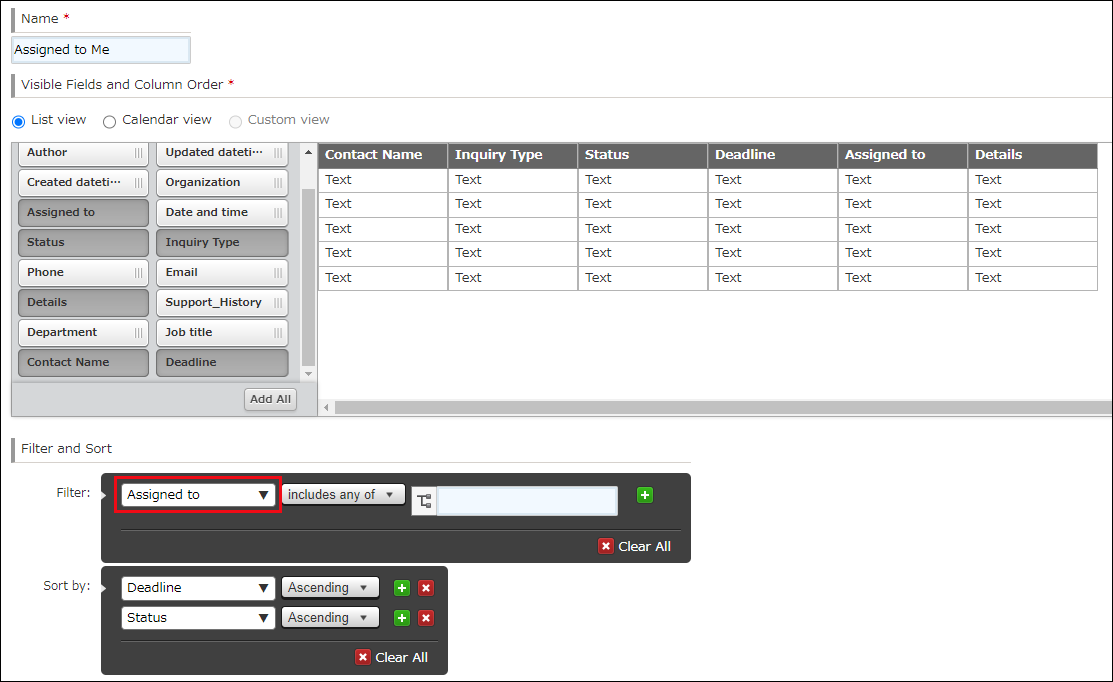
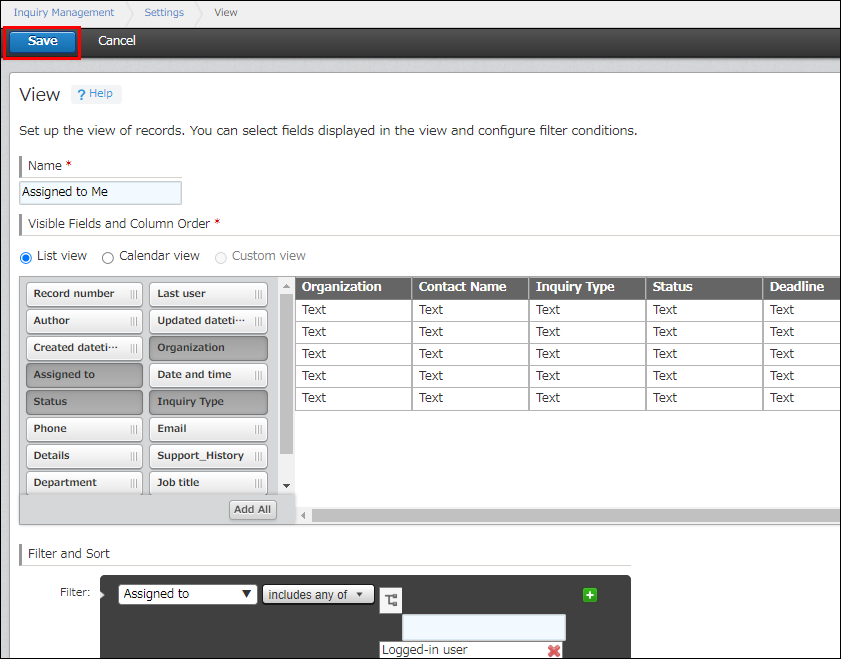
Enter a name for the view (e.g., "My Cases").
Change the fields to display in the view as needed.
-
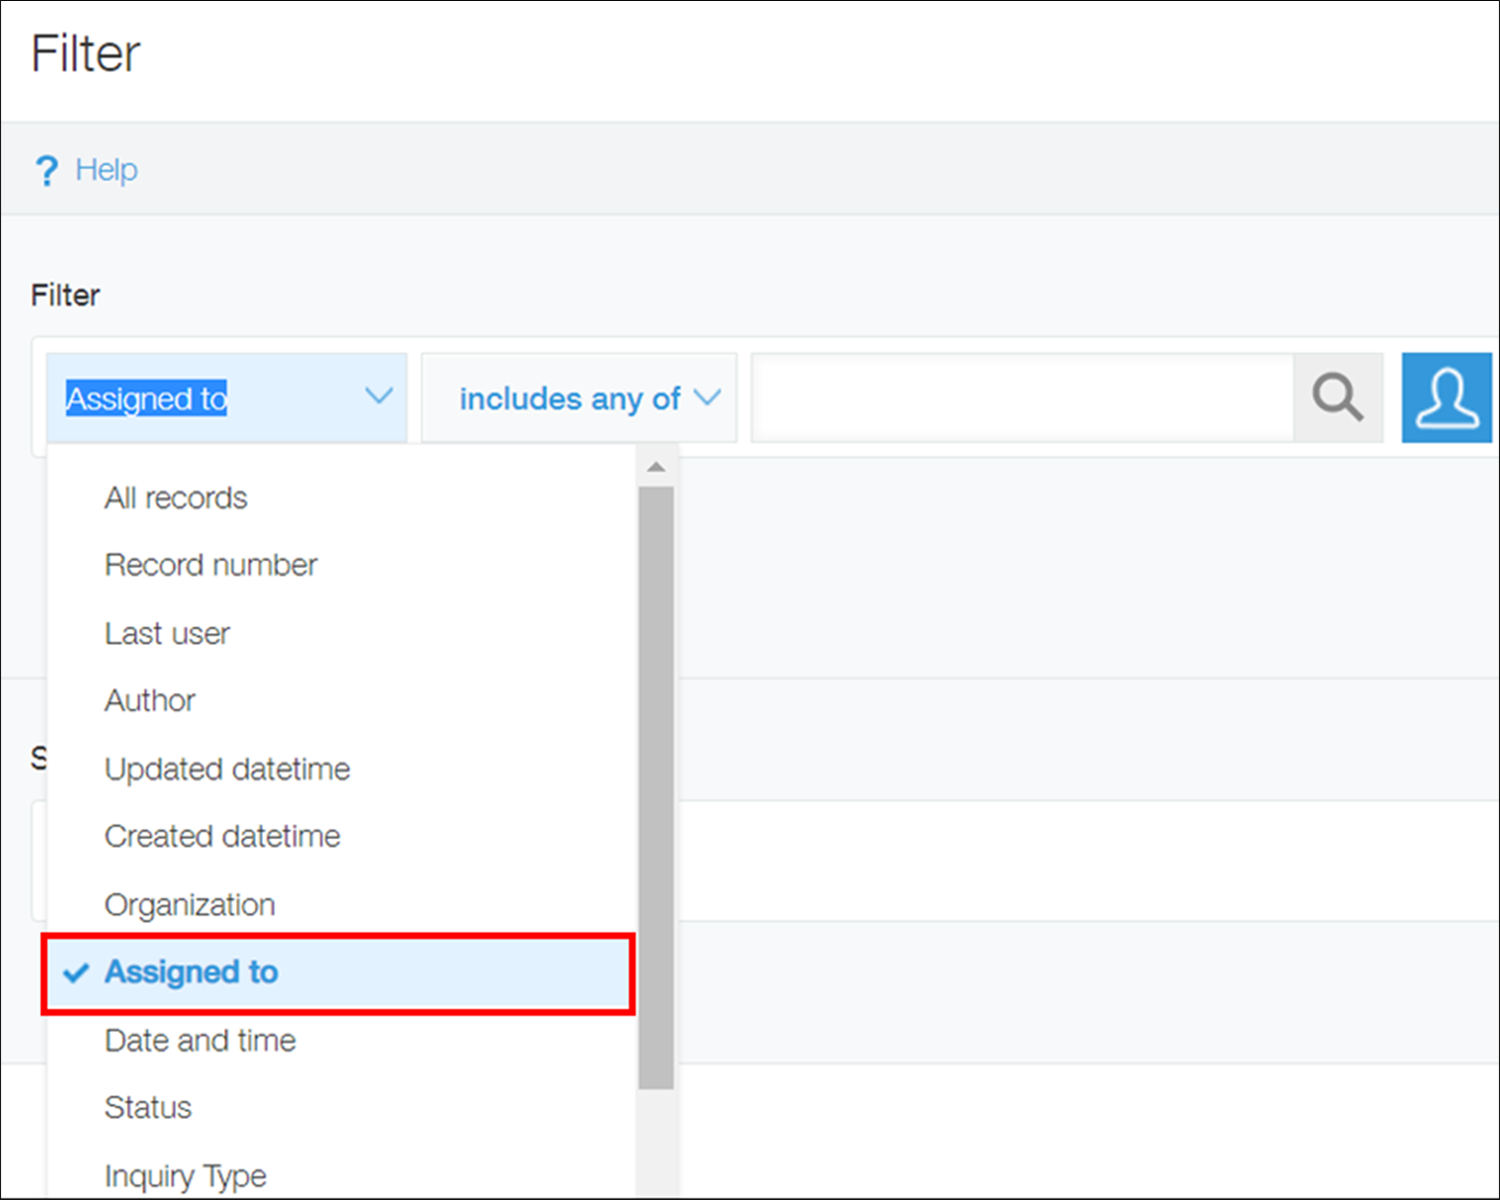
In the Filter section, select the field used for entering an assigned user.
In this example, we will select the "Assigned to" field.
-
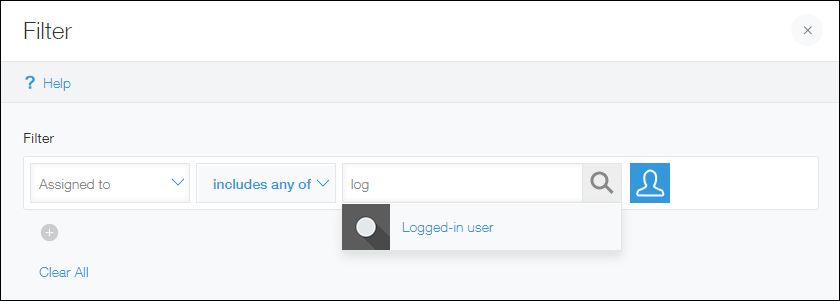
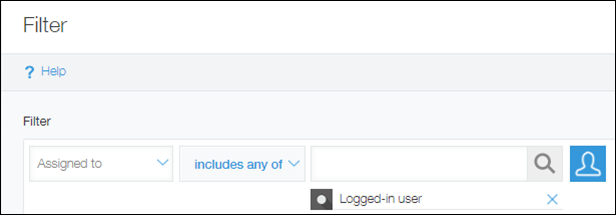
Type "Logged-in user" in the input field and click Logged-in user when it appears as a suggestion.
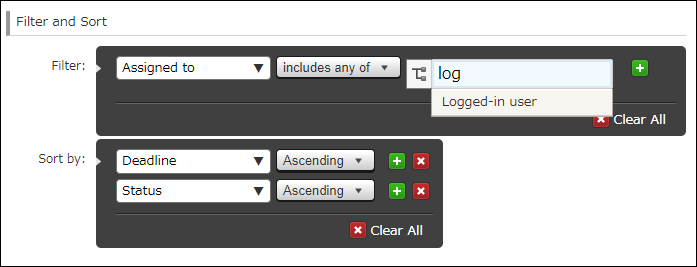
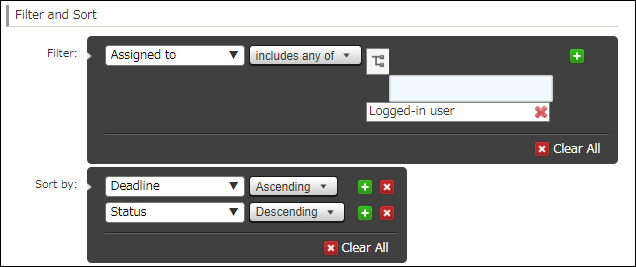
Make sure that you have set a filter condition for the "Assigned to" field with includes any of and Logged-in user.
-
Click Save at the bottom right of the screen.
-
Click Update app at the upper right of the screen.
-
On the confirmation dialog, click Update app.
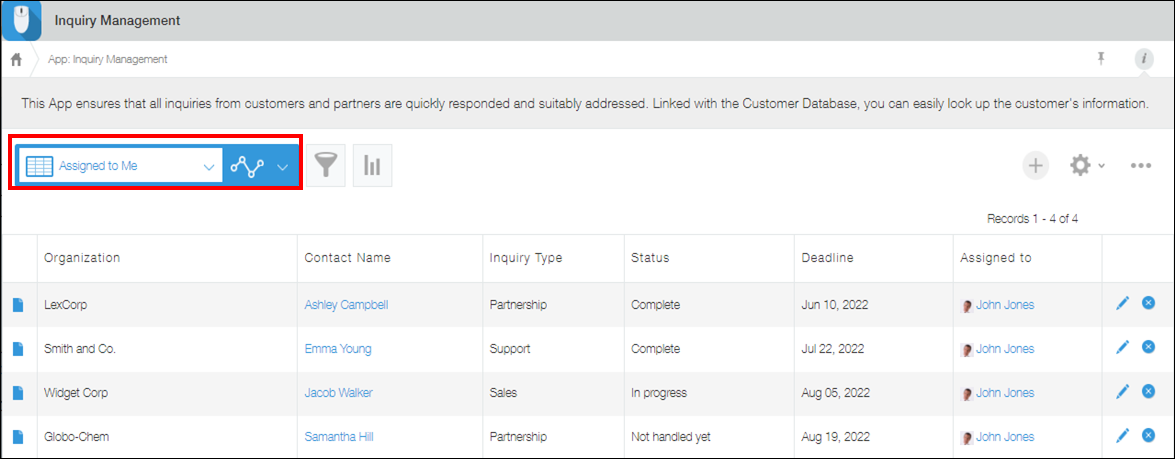
You have successfully created a view that displays records assigned to whoever is viewing the app.
Now, for instance, when User A selects the view, it will display only the records assigned to User A, and when User B selects the view, only the records assigned to User B will be displayed.
Related information: How to set the personalized view as the default view
You can set the view you created as the default view (the first view users see when they access the app).
To do so, navigate to the Views tab of the App settings screen and move the view to the top of the list.
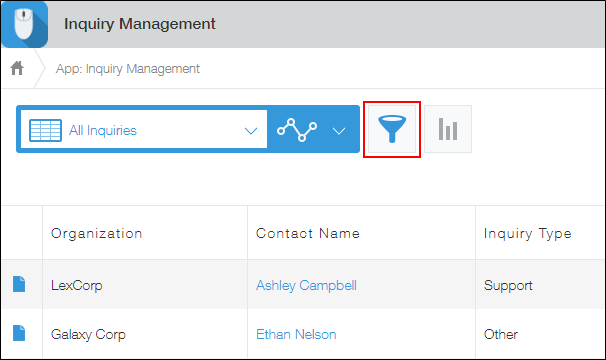
Method 2: Create the view from the "View" screen
To create the view from the "View" screen, follow the steps below.
-
Click the Filter button on the "View" screen (the top page of the app).
-
Select the field used for entering an assigned user.
In this example, we will select the "Assigned to" field.
-
Type "Logged-in user" in the input field and click Logged-in user when it appears as a suggestion.
Make sure that you have set a filter condition for the "Assigned to" field with includes any of and Logged-in user.
-
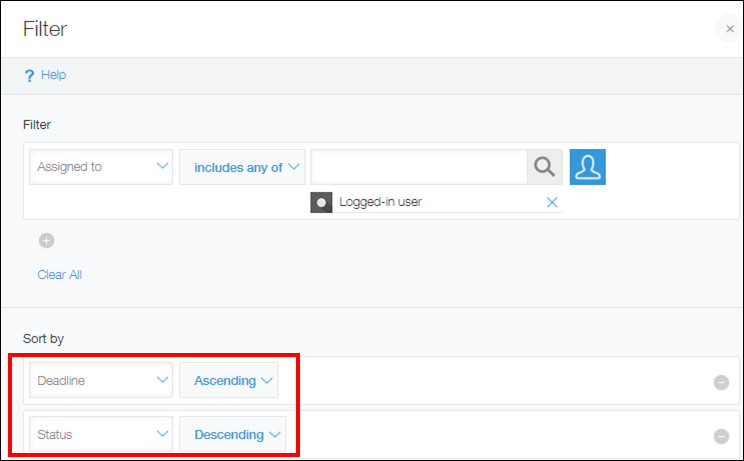
Set additional filter conditions or sorting preferences as needed.
In this example, we will select Ascending for the "Deadline" and "Status" fields in the Sort by section.
-
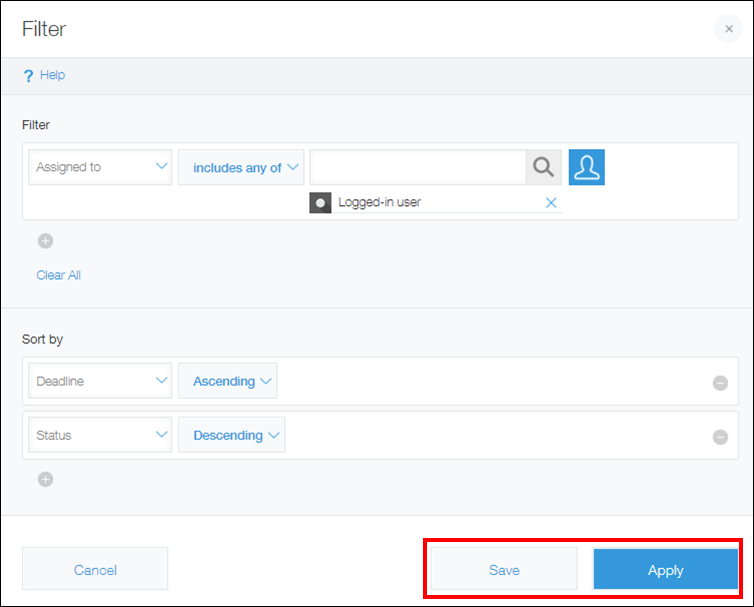
Click Save, then specify a name for the view and save it.
If you want to display the view on the spot, click Apply.
You have successfully created a view that displays records assigned to whoever is viewing the app.
Related information: Bookmarking the view
Even if you don't save the created view in the app, you can bookmark it in Kintone.
Reference: Adding bookmarks