Configuring/customizing a portal
This article explains how users with Kintone administrative permission and Kintone users & system administrators can change the settings of a portal.
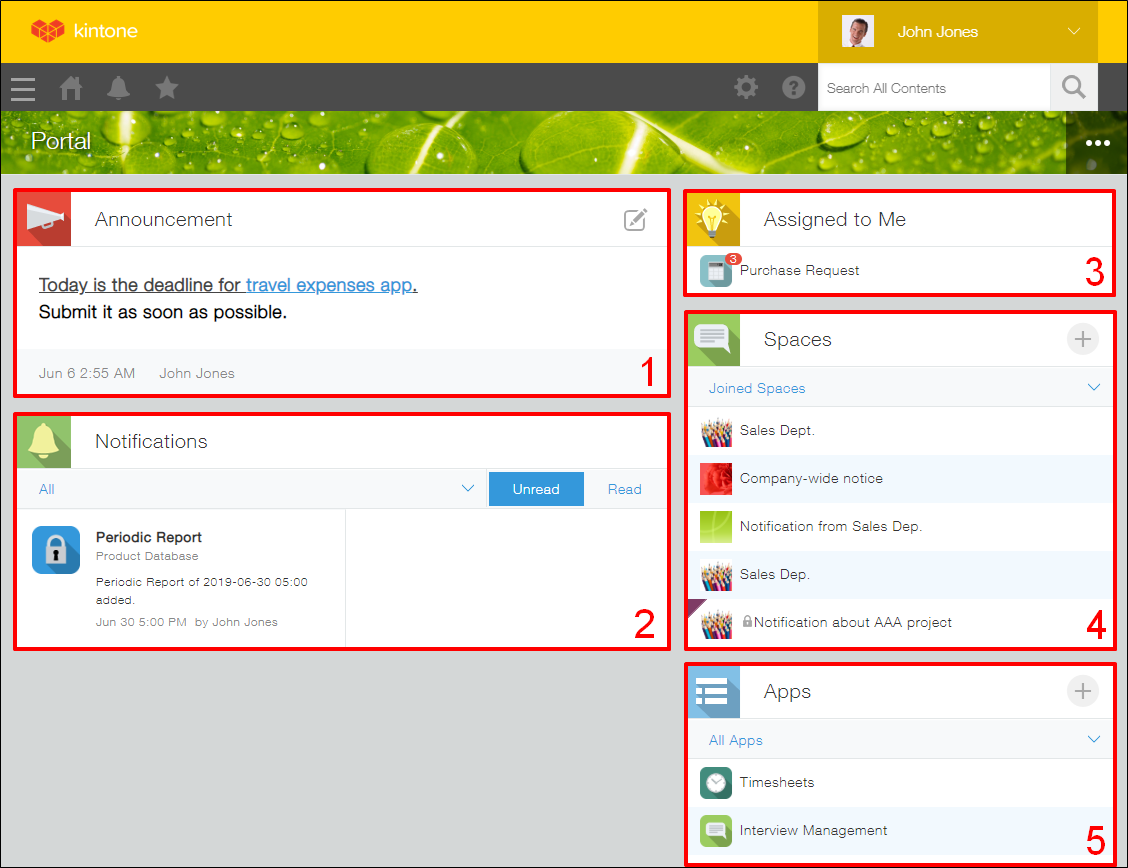
By default, a portal displays the following sections.
1:Announcement
2:Notifications
3:Assigned to me
4:Spaces
5:Apps
For details on each of the sections displayed on a portal, refer to the following page:
Portal overview
Changing portal settings
This section explains how to configure the settings on the Portal settings dialog, including the portal name and cover photo.
To edit the content in the
Announcement section, click the Edit announcement icon in the upper right corner. For details, refer to the following page:
Editing the "Announcement" section of a portal
Steps
-
Click the Options icon (the three dots) at the upper right of your portal and select Current portal's settings.

-
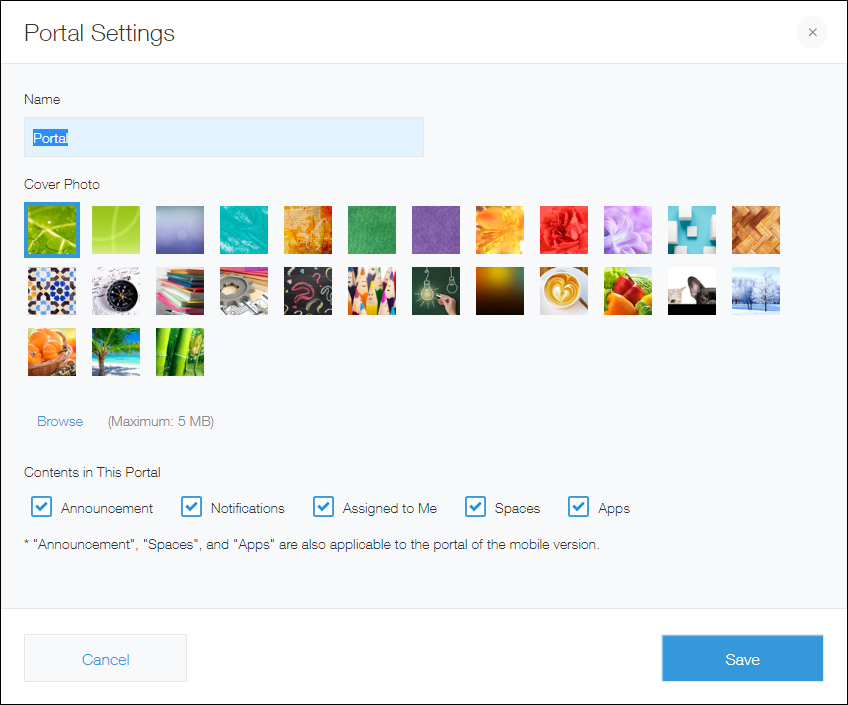
On the Portal settings dialog, configure the settings as needed.
The following settings can be configured.- Name
- Cover photo
An image file of up to 5 MB in size can be used as the cover photo. For the desktop view, the height of the cover photo is fixed to 64 px, and the width automatically adjusts to fit your web browser. - Contents in this portal
The following sections can be displayed on your portal.- Announcement
- Notifications
- Assigned to me
- Spaces
- Apps
-
Click Save.
Customizing your portal
You can customize your portal using APIs.
Customizing with APIs
One way to customize your portal is by creating a JavaScript program using the APIs provided by Kintone and applying it to your Kintone environment. This type of customization lets you do things like add buttons to your portal.
For details on how to apply JavaScript files to Kintone, refer to the following page:
Customizing Kintone system-wide using JavaScript and CSS